No products in the cart.
Seller Help : Setting Shipping Charges
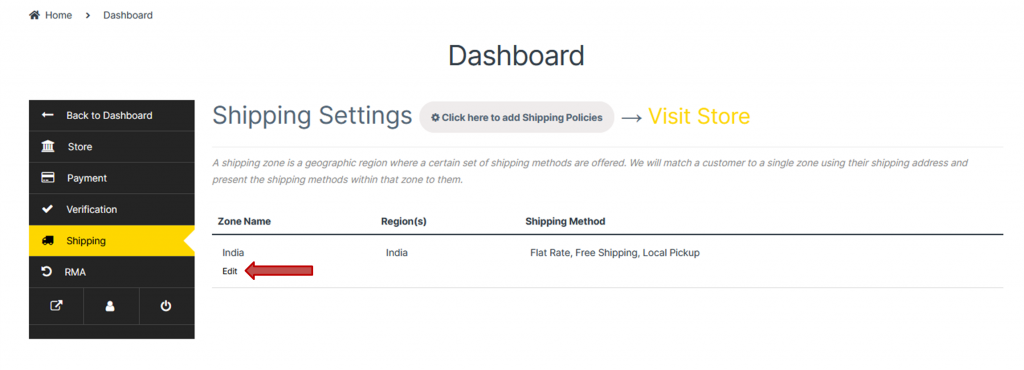
Navigate to Store→Vendor Dashboard→Settings→Shipping.
From here, a vendor can add shipping methods by clicking on Edit or Add Shipping Method.
A new page will open.
Adding New Shipping Method
From here vendors can choose to limit zone location for his customers and also add new shipping methods.
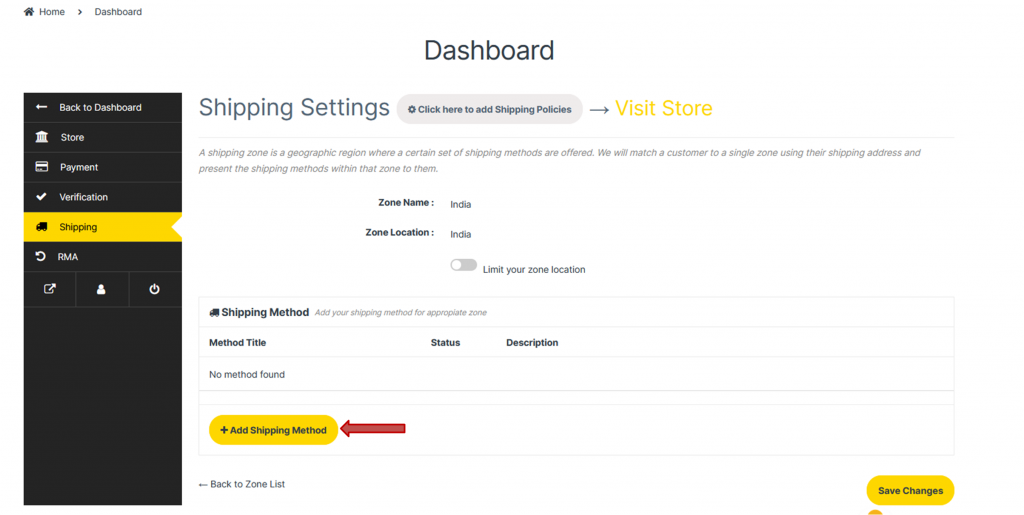
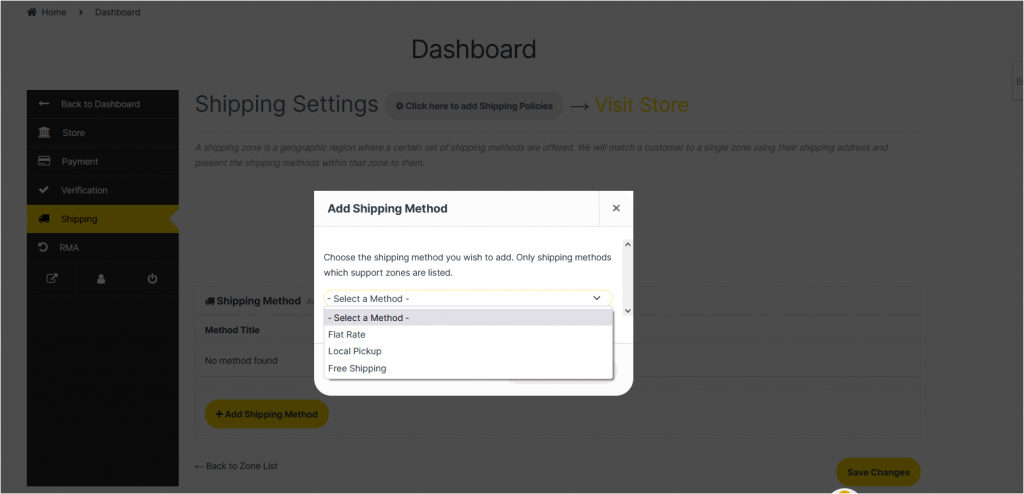
To add shipping methods, vendors need to click on Add Shipping Method and select one from the drop-down.
In this way, vendors can add multiple shipping methods.
Flat Rates
Each Shipping Zone can have different (and multiple) Flat Rates if you wish.
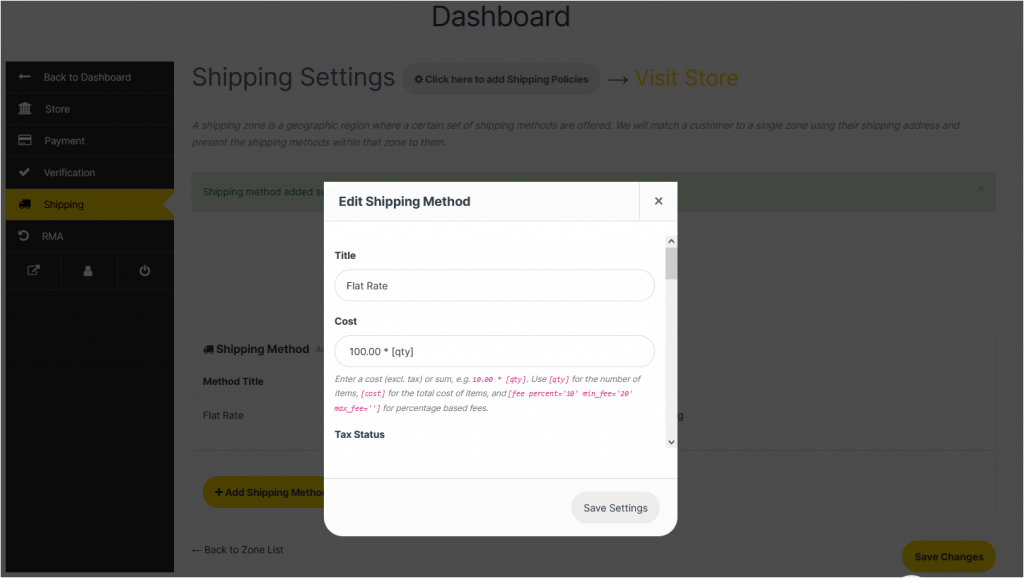
- To make changes to a shipping method, vendor needs to click

- This title displays to customers in checkout.
- Next he has to add the Cost(this is applied to the entire cart). Cost can be fixed or qty based formula or percentage based formula as shown in the example.
- Select it’s Tax Status(define whether or not tax is applied to the shipping amount).
- You can also type a Description for this method if you prefer.
- Click on Save Settings.
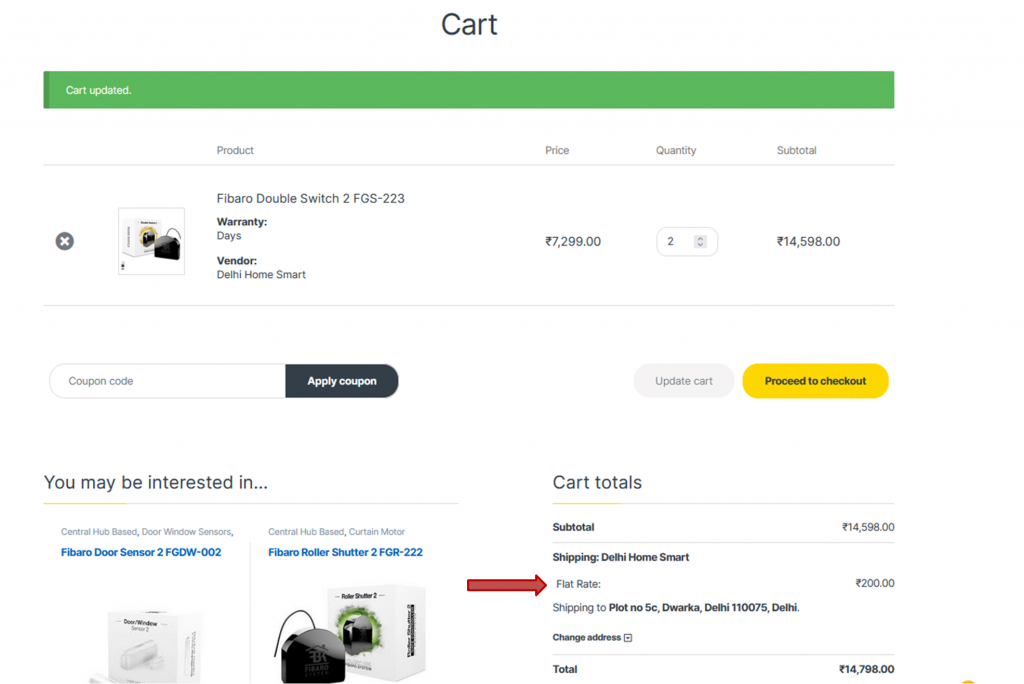
Cart View
Shipping Classes
Shipping classes won’t apply unless the vendor specifies from Edit Product.
Shipping classes can be used to group products of similar type to provide different rates to different classes of product. It must be added after configuring shipping zones, and then added to a shipping method, like Flat Rate.
The vendor can specify shipping class costs for all the shipping classes that are available. Vendors will be able to access these classes for the Flat Rate method only.
The vendor can specify his own conditional rates for the shipping classes.
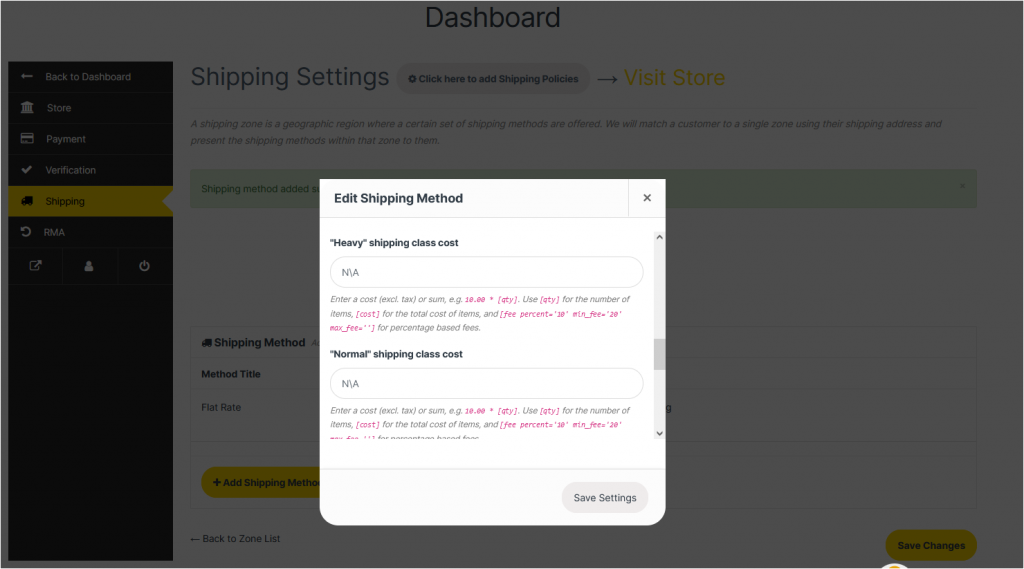
Then select the cost when no shipping class will apply.
You can also select the Calculation Type:
- Per Class: Shipping rates will apply accordingly class-wise.
- Per Order: Shipping rates will apply on the total order cost, and the most expensive shipping class rate will apply.
Configuring Product-wise shipping class
- Navigate to Store→Vendor Dashboard→Products.
- Select the product you want to add shipping class to by hovering on the product name and click on Edit.
- Scroll down to the section that reads Shipping and Tax.
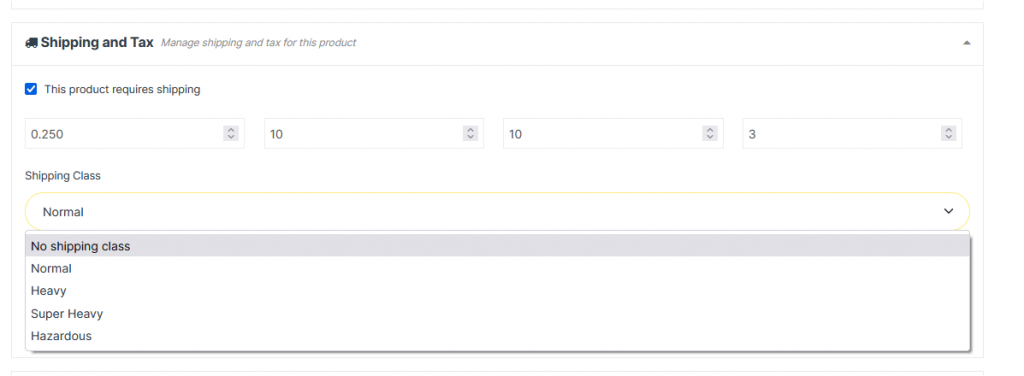
- First enable the checkbox “This Product Requires Shipping”.
- Next, input the details as required for weight, length, width and height.
- Now select the shipping class you want to apply to this product from the drop-down.
- Select Tax Status and Tax Class.
- Click on Save Product.
Note: Each product can have only one shipping class.
The rule is if the Flat Rate and Shipping Class rate both are defined, then both will apply when the customer is checking out.
For example, if you have set Flat Rate at Rs10, and Normal Items Shipping Class Cost at Rs10*[qty], then your shipping cost will be Rs10+Rs10*[1] = Rs20.
Note: You must set the shipping class for this particular product from Vendor Dashboard→Products→Edit→Shipping and Tax so it works.
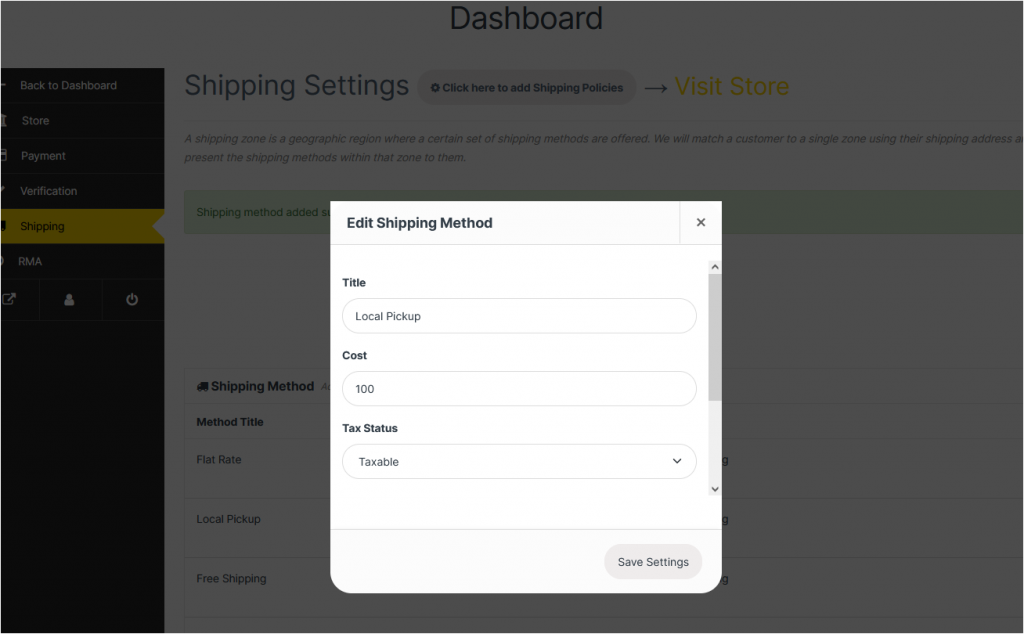
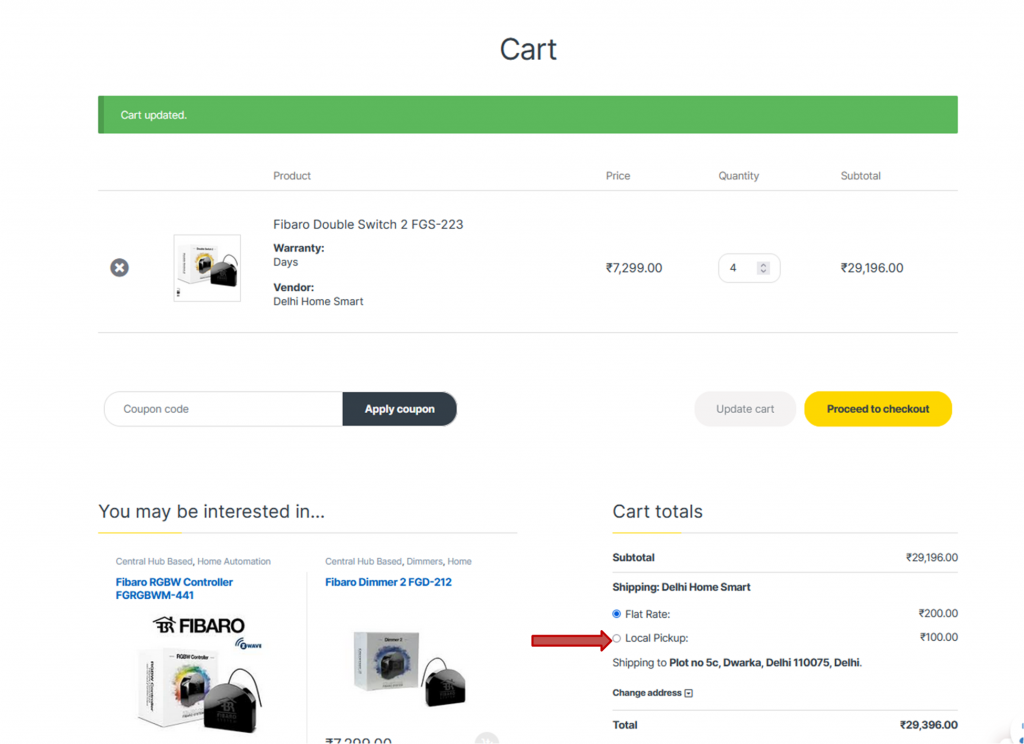
Local Pickup
In Local Pickup, customers can pick up the order themselves from a designated location.
- To make changes, hover over the shipping method and click on Edit.
- Enter Cost– Cost for the option, is applied to entire cart.
- Select Tax Status. Then click on Save Changes.
Cart View
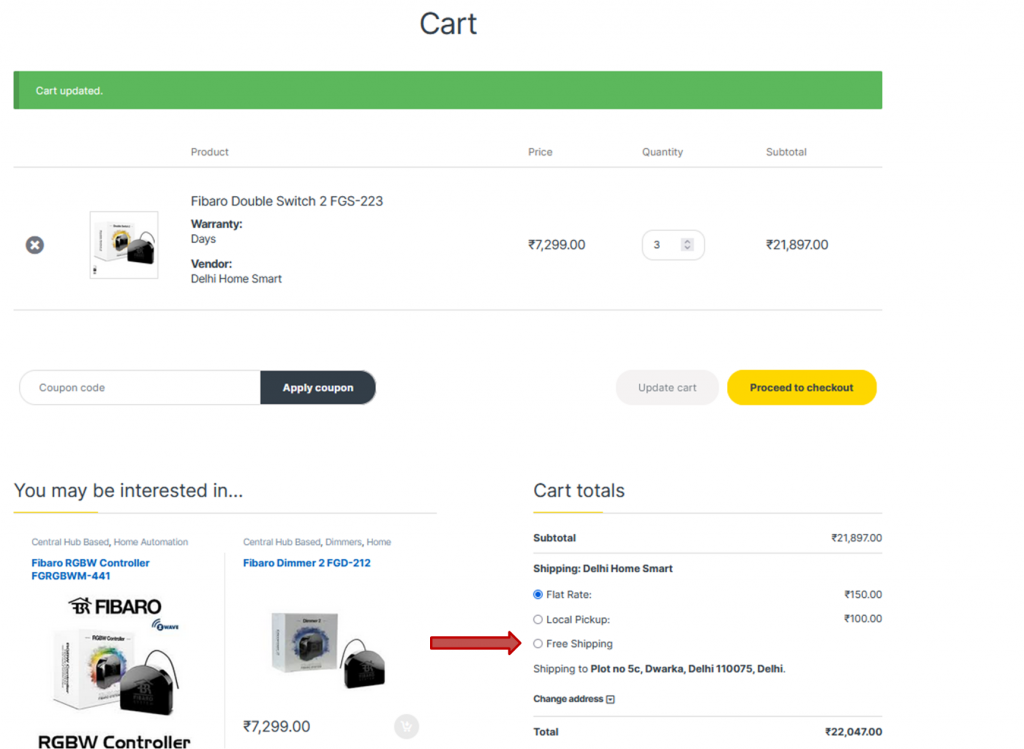
Free Shipping
Free shipping is a great way to encourage customers to spend more. For example, offer free shipping on orders over $100.
1.Enter a Title that displays to customers in checkout.
2. Enter a Minimum Order Amount(if applicable).
3. Click on Save changes.

Cart View
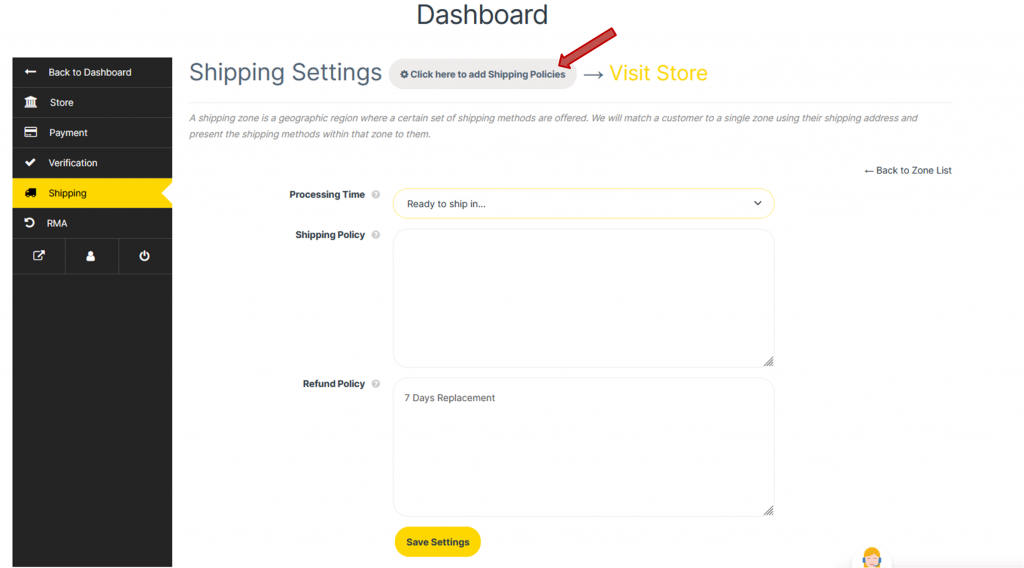
Shipping Policies
A vendor now can set his own shipping policy and shipping processing time for the customers. Just simply click on the policy settings tab on as shown in the image below to manage the shipping policy settings.